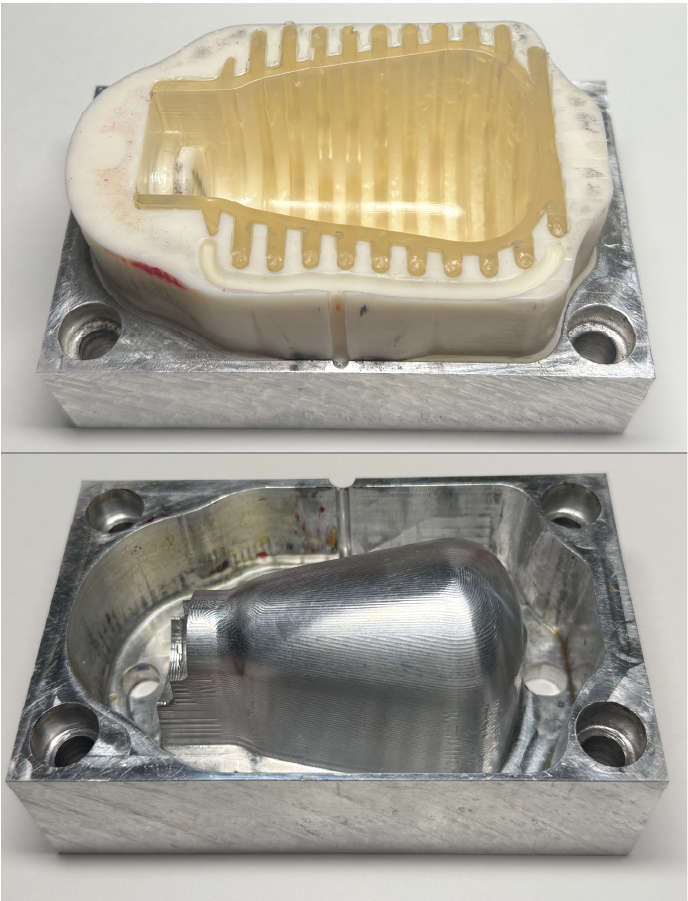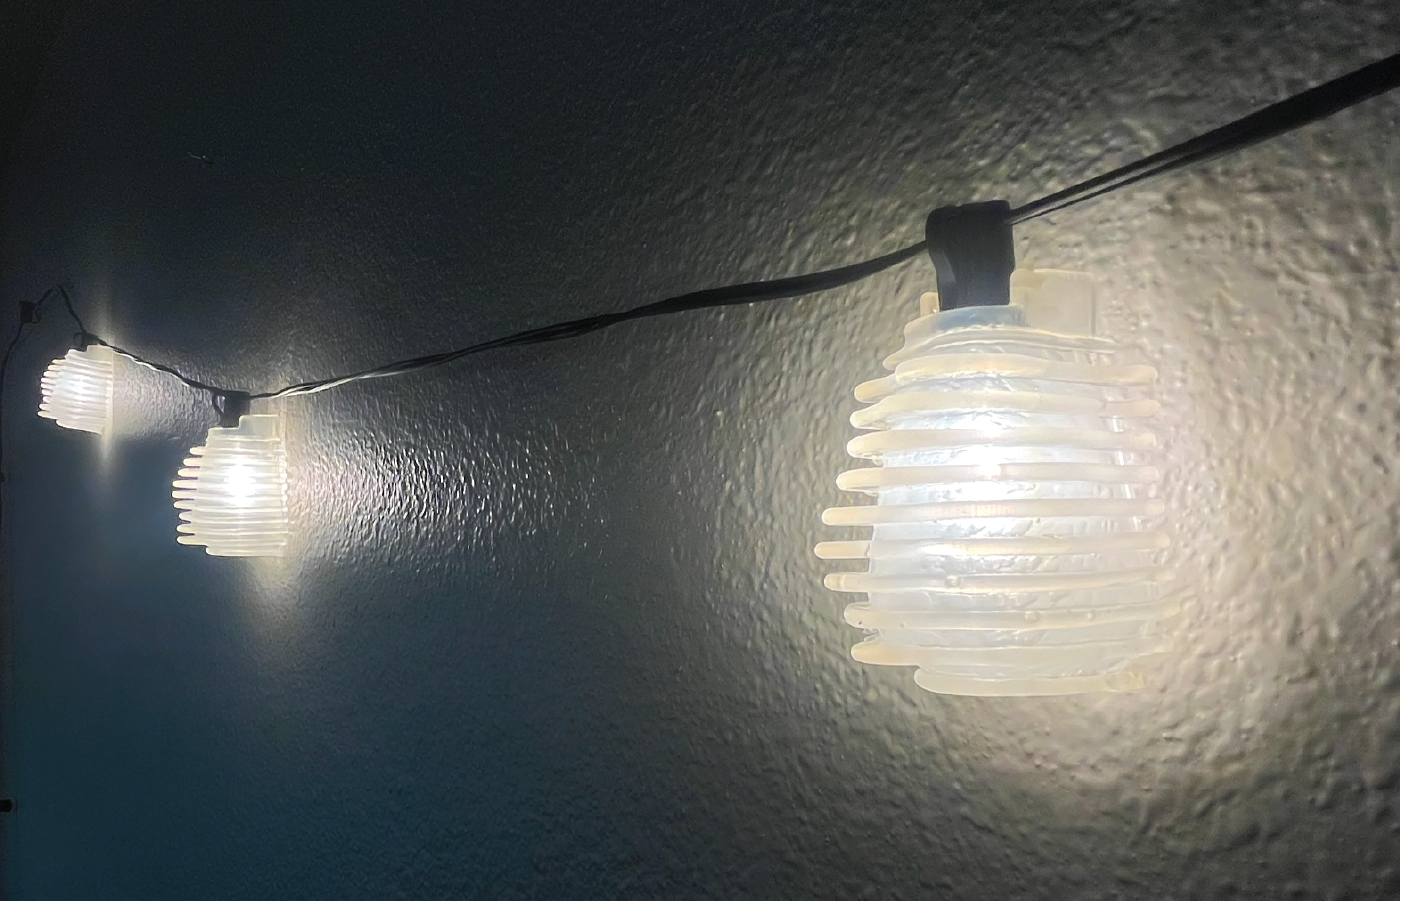
Armed with an Arburg Injection molder, the new Formlabs Form 4 SLA 3D printers, and a set of string lights for my room, I set out to create custom injection-molded lampshades featuring geometries that were previously unachievable in the Product Realization Lab. The final design showcases undulating layers that diffuse light in a soft, ethereal glow.

I began by sketching various forms as well as brainstorming a multitude of ways to attach the lampshades to the light (snap fits, stretch rings, etc…). After 3D printing and silicone molding prototypes, I decided to add features to sandwich the lampshade between the housing and the bulb.
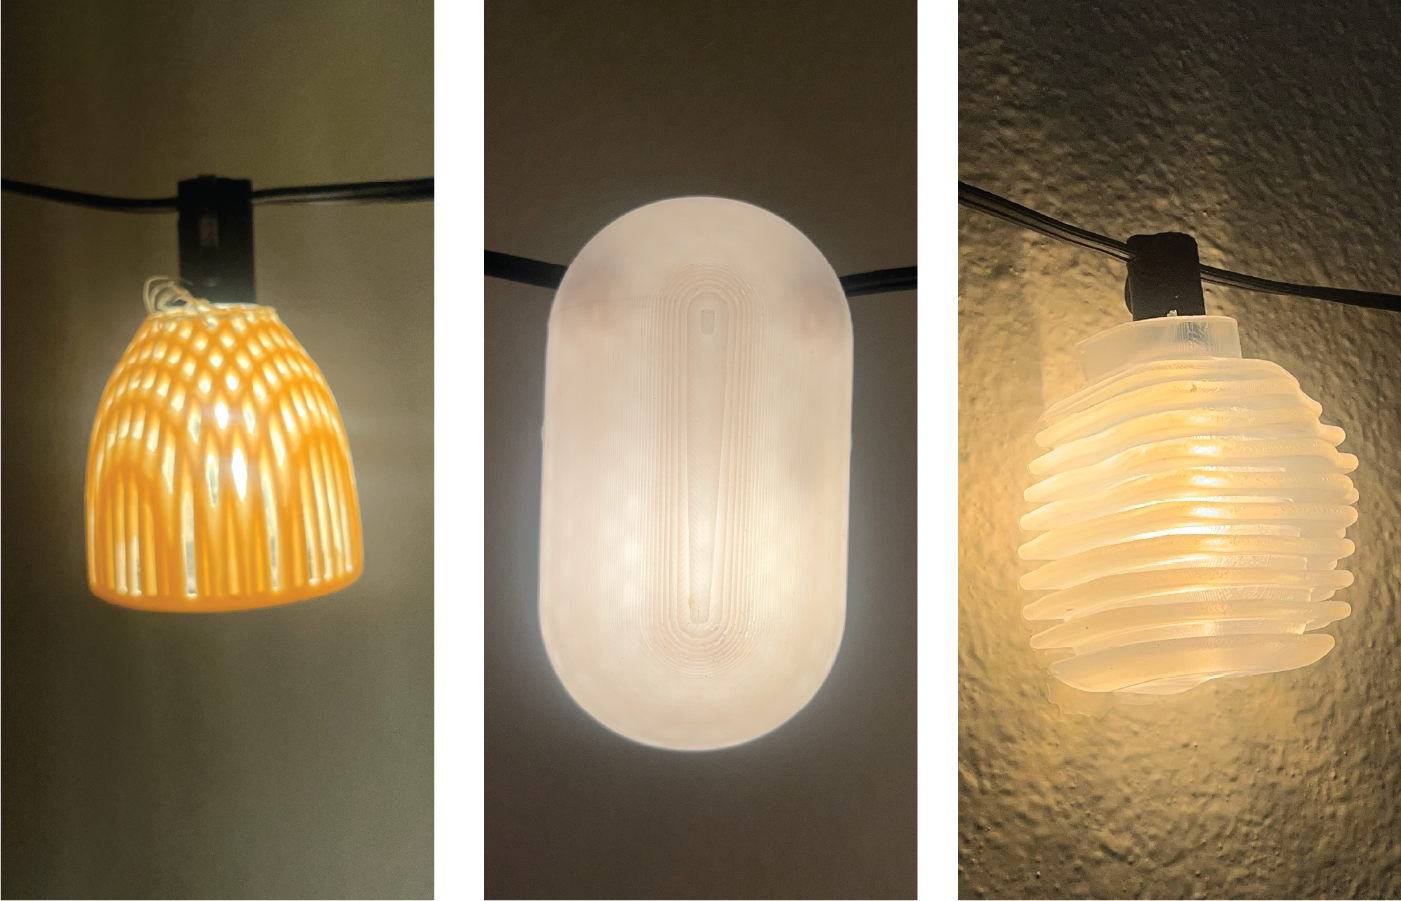
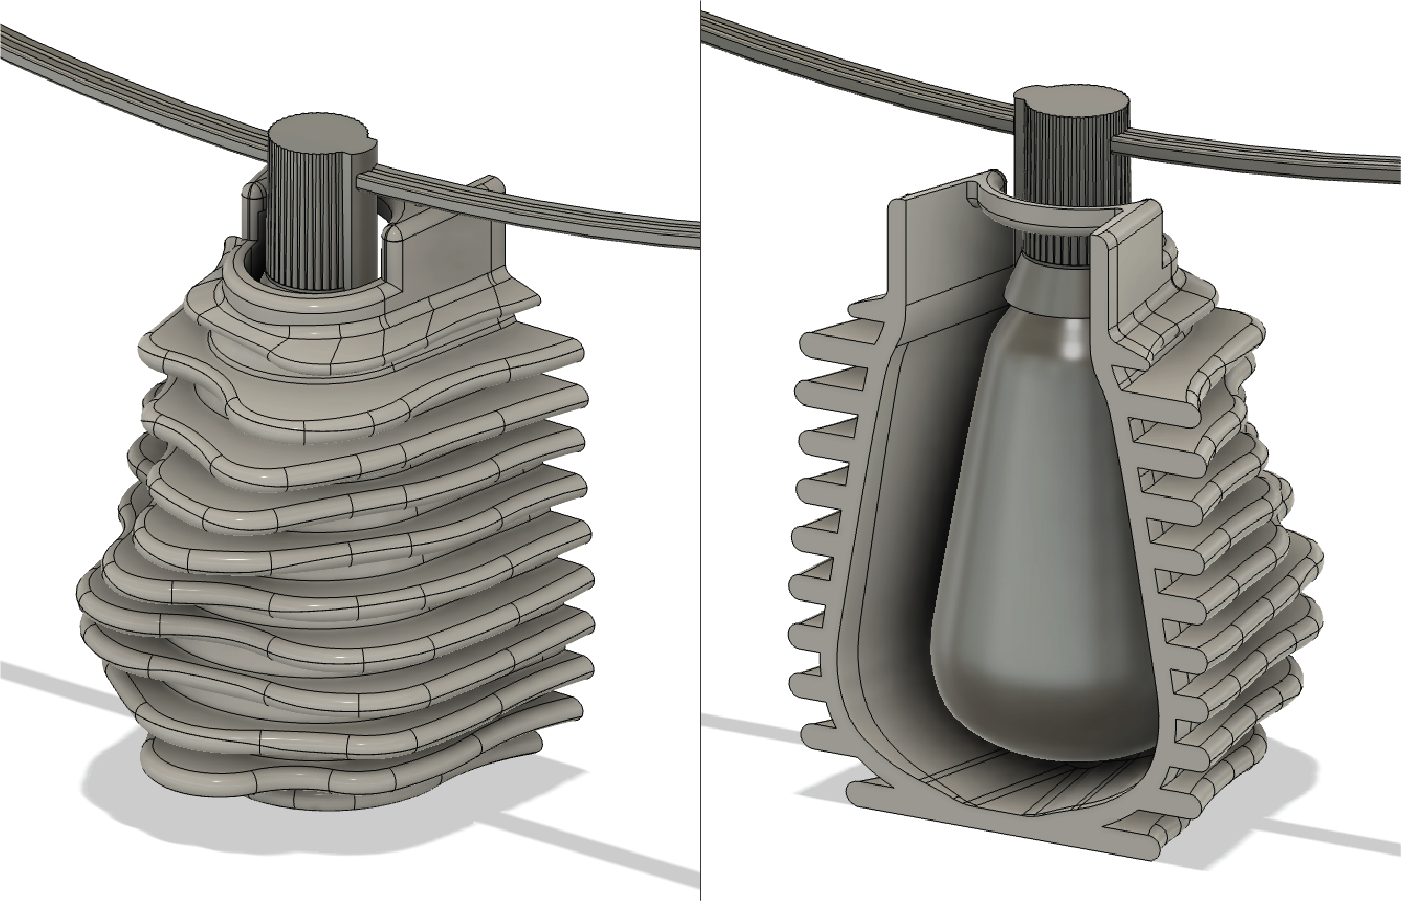
To generate the layered wave pattern, I started in Rhino/Grasshopper before transitioning to Fusion 360. The final design incorporated injection molding DFM principles, including consistent wall thickness, a shifted parting line, and optimized injection locations to minimize sink and weld lines. However, it also featured small undercuts. I wanted to test whether a flexible material would allow me to 3D print the A-side of the mold and still produce functional parts despite the undercuts.
I 3D printed mold inserts using two different resins to compare their performance. While both Tough 10K and High Temp offered the same heat resistance, Tough 10K's superior strength allowed it to better withstand the injection molding forces without fracturing. The B-side was machined, while the 3D-printed insert was pressed into an aluminum cavity to form the A-side. The mold successfully produced over 75 parts and remains reusable for future runs.